DIY Electrical Safety Guide: What Homeowners Can Do 2026
The Fluke 87-V Industrial Multimeter is the most reliable tool for DIY electrical work — True RMS measurement handles modern variable-speed loads accurately, and Fluke's build quality is trusted by professional electricians. Always verify circuits are dead with a non-contact voltage tester before touching any wire.
At a Glance
DIY Electrical Safety Guide Buying Guide
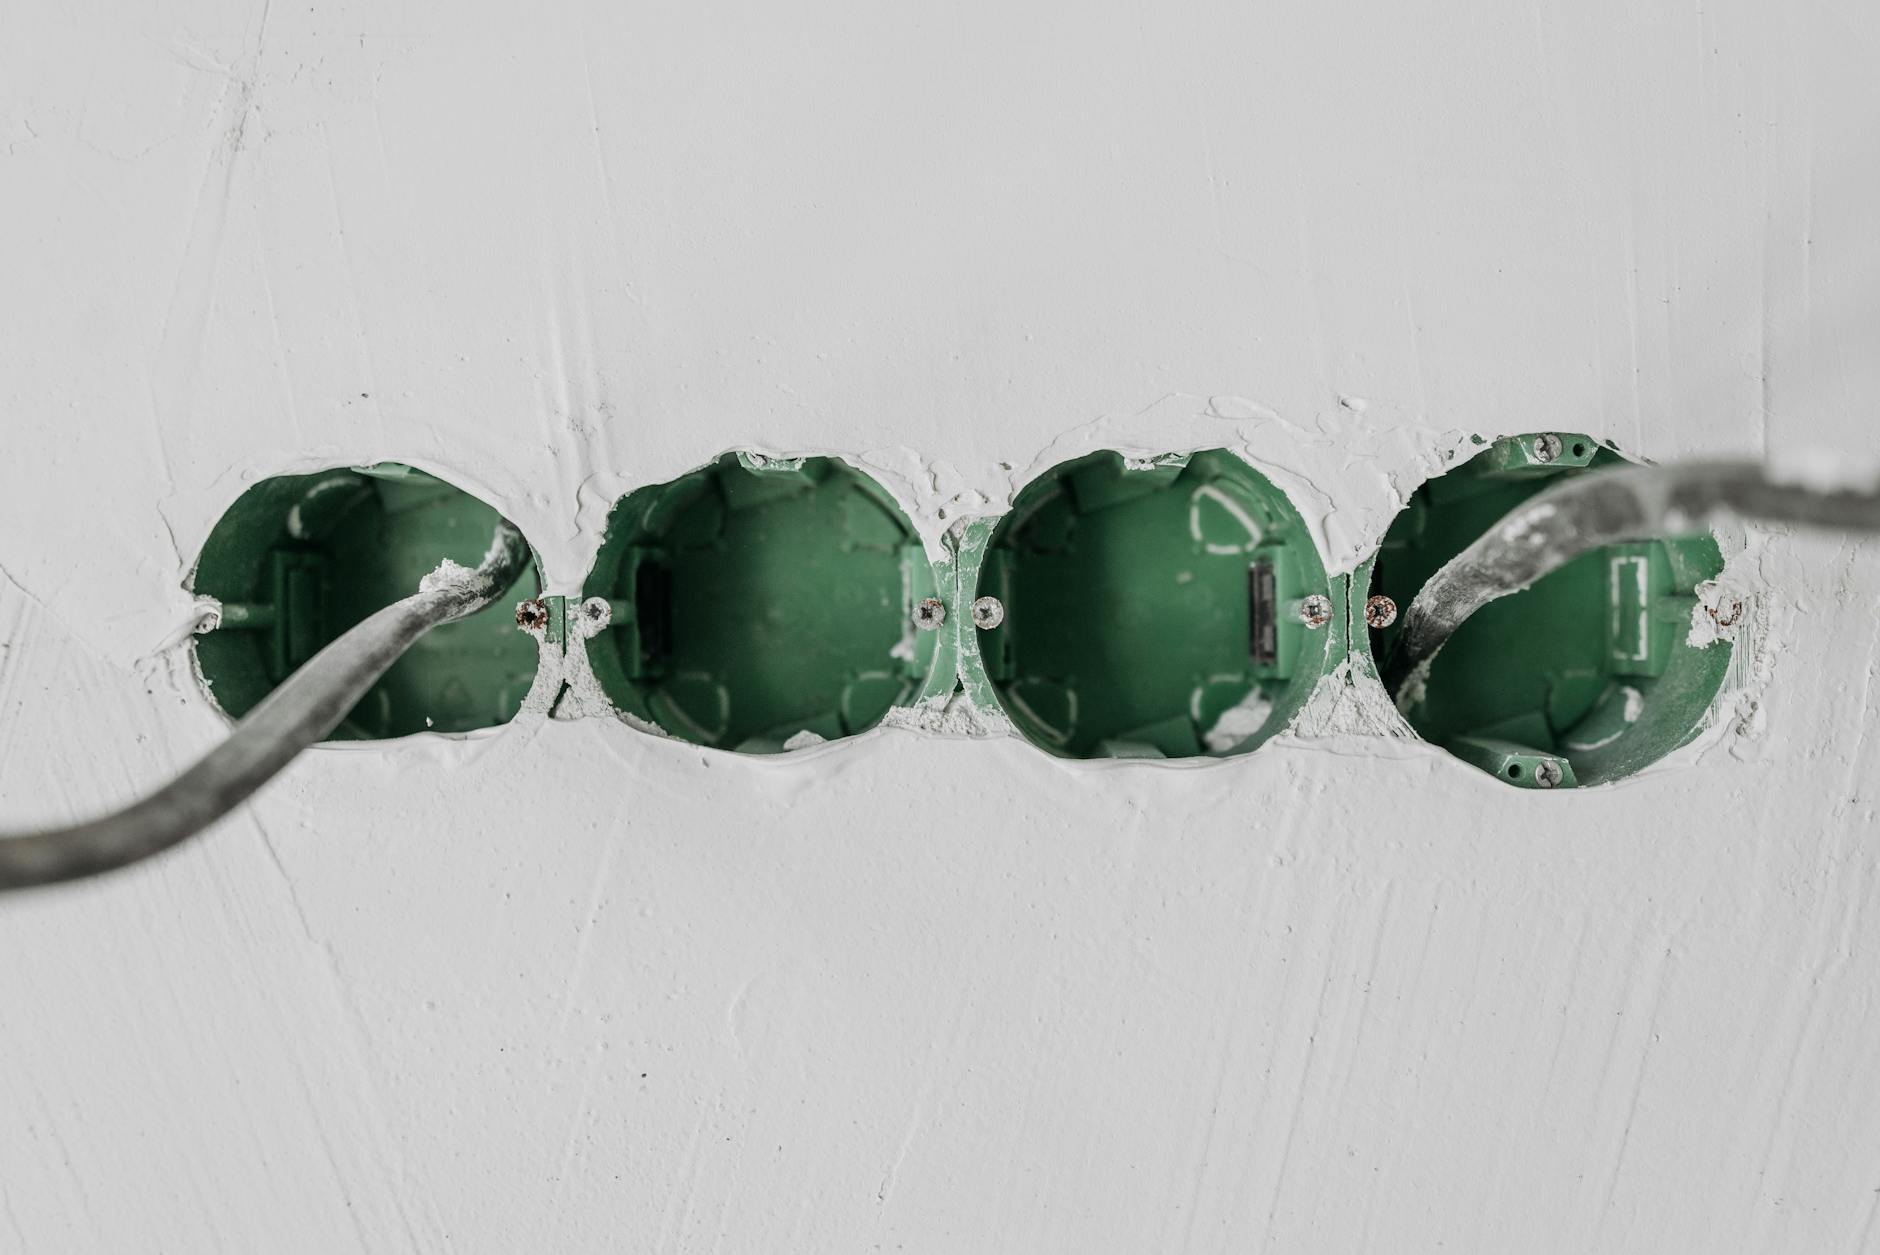 Photo by Pavel Danilyuk / Pexels
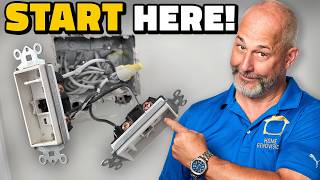
Electrical work falls into two clear categories: homeowner-appropriate tasks (replacing outlets, switches, fixtures, and GFCI devices) and tasks requiring a licensed electrician (panel work, new circuits, service entrance, and anything requiring permits in your jurisdiction). The boundary matters because the consequences of mistakes differ dramatically — a misconnected outlet switch fails safely; a miswired panel feeds back to the service entrance and risks electrocution and fire.
How We Compiled This Guide
We cross-referenced the National Electrical Code (NEC), OSHA electrical safety guidelines, and guidance from licensed master electricians in multiple jurisdictions. Safety protocols reflect current industry standards, not just minimum legal requirements. Permit and licensing rules vary by state and municipality — always check local requirements before starting any electrical project. This guide prioritizes safe practice over speed.
The Most Important Tool: Non-Contact Voltage Tester
Before touching any wire, outlet, or switch — regardless of whether you think the power is off — use a non-contact voltage tester (NCV tester). This is the single non-negotiable tool in DIY electrical work. NCV testers detect live voltage through insulation without touching the conductor. Cost: $15–$25. Worth 10× that in safety margin.
Klein Tools NCVT-1 ($15): the professional standard. Beeps and lights when detecting 50–1,000V AC. Works through wire insulation, outlet face, and switch bodies. Fluke 1AC-A1-II ($18) and Greenlee GT-16 ($12) are comparable alternatives.
How to verify it works: before using on an unknown circuit, test it on a known live outlet first — confirms the tester is functioning. Then test your de-energized circuit. If the tester beeps on a circuit you think is off: the wrong breaker was tripped, or the circuit has a second feed. Stop, find the correct breaker, test again.
What Homeowners Can Safely Do (With Power OFF at Breaker)
Replace standard duplex outlets: Turn off breaker, verify off with NCV tester, remove old outlet, photograph wiring, connect black to brass screw (hot), white to silver screw (neutral), bare/green to green screw (ground), reinstall. 30-minute job. Cost of materials: $2–$8 per outlet.
Replace GFCI outlets: Critical in bathrooms, kitchens, garages, and outdoor locations. Same process as standard outlets plus connecting the LINE vs LOAD terminals correctly (LINE = power from panel; LOAD = optional daisy-chain protection for downstream outlets). GFCI outlets: Leviton GFNT1-W ($12), Hubbell GF15W ($14). Code requires GFCI in all wet locations — replacing standard outlets in these areas with GFCI is a safety upgrade worth doing.
Replace light switches: Single-pole switches (controls one fixture from one location): straightforward swap. Three-way switches (controls one fixture from two locations — like a stairway light): more complex wiring but achievable with good labeling. 4-way switches: leave for an electrician unless very comfortable with wiring diagrams.
Replace light fixtures: Turn off power, verify off, disconnect wires (match colors), connect new fixture. Weight note: ceiling fans and heavy fixtures require mounting boxes rated for weight — standard octagon boxes are only rated for 35 lbs. Fan-rated boxes ($10–$20) support up to 150 lbs and have screw anchor for fan wobble.
Replace an electrical panel breaker: Only if breaker is an exact same-brand replacement in an existing panel, and you are comfortable working in the panel box WITHOUT touching main lugs. If uncomfortable: call an electrician. Main panel costs $50–$200/hour for an electrician vs. a $30 replacement breaker.
When to Call a Licensed Electrician (Non-Negotiable)
Any work on the main panel's main lugs: The cables entering the main panel from the utility meter are ALWAYS live — the main breaker does NOT disconnect these. Working near them without utility shutoff is a lethal risk. An electrician with proper tools and training handles this.
Adding new circuits: Running new wire from panel to a new location requires permits in almost every jurisdiction. Permits require inspection. Permits require licensed electricians in many states. Check your local building department before starting.
Upgrading service amperage: Going from 100A to 200A service requires utility company coordination plus licensed electrician plus permits. Not DIY work.
Aluminum wiring (pre-1972 homes): Homes built before 1972 may have aluminum branch circuit wiring. Aluminum connections oxidize and can cause arc faults. Requires licensed electrician using aluminum-rated devices and anti-oxidant compound.
Knob and tube wiring (pre-1950s): Open air wiring without ground conductor. Cannot be extended. Often voided by homeowner's insurance if modified incorrectly. Electrician required.
Circuit Breaker Sizing and Wire Gauge Basics
Every wire gauge has a maximum ampacity — the safe current it can carry without overheating. This is why circuit breakers match wire gauge:
• 14 AWG wire → 15A breaker (standard lighting circuits)
• 12 AWG wire → 20A breaker (kitchen outlets, bathroom)
• 10 AWG wire → 30A breaker (dryer circuits)
• 6 AWG wire → 50A breaker (range circuits)
Oversized breakers on undersized wire are the primary cause of electrical fires — the wire overheats before the breaker trips. Never replace a 15A breaker with a 20A to "fix" a tripping issue — this is extremely dangerous. A tripping breaker indicates overloaded circuit, failed device, or wiring fault — diagnose the cause, don't upsize the protection.

Common Mistakes to Avoid
Mistake 1: Assuming the power is off without testing. Breaker labels are wrong more often than homeowners think. Always verify with a non-contact voltage tester on every wire you're about to touch.
Mistake 2: Reversing hot and neutral. White wire = neutral (to silver/white terminal), black = hot (to brass/gold terminal). Reversing these creates a "reverse polarity" outlet that works for most devices but creates shock hazard — the metal shell of a plug-in device becomes electrified instead of neutral. NCV testers catch this: a functioning outlet with reversed polarity will detect voltage on the neutral prong.
Mistake 3: Pushing wires into backstab connections. Backstab (push-in) terminals on outlets and switches are convenient but less reliable than screw terminals. Use screw terminals for all connections — backstabs work loose over years and create intermittent connection issues and arc faults.
Mistake 4: Not turning off the correct breaker. In older homes with poorly labeled panels, finding the correct breaker takes longer. Solution: plug a radio or lamp into the circuit, then flip breakers until it goes off — now you're certain. A circuit breaker finder kit ($30, Klein Tools CL110) speeds this up by sending a signal on the circuit that a receiver detects at the panel.
What We Recommend
Essential safety tools: Klein Tools NCVT-1 non-contact voltage tester ($15). For DIY outlet and switch work: 6-in-1 screwdriver ($15), needle-nose pliers ($12), wire stripper/cutter ($15). For panel breaker identification: Klein Tools circuit breaker finder ($30). See our best electrical testers, best screwdriver sets, and best wire strippers for complete electrical kit recommendations.
Watch Before You Buy
“0.05% basic DC accuracy — best in class. Best suited for industrial maintenance, motor drives, power quality analysis.”
See Today’s Price →What we like
- 0.05% basic DC accuracy — best in class
- True RMS with high-frequency filtering
- Measures motor drive output accurately
- 4000-hour battery life
- Min/Max/Average recording mode
Watch out for
- Premium price for professional use only
- More features than most DIYers need
“”
See Today’s Price →What we like
- USB 2.0 pass-through design measures actual power draw while a device is running and charging
- Compact USB inline form factor requires no test leads or probes for basic current testing
- Ideal for diagnosing USB charging issues, cable quality, and power bank output capacity
Watch out for
- USB-specific design limits measurements to 5V DC — not a general-purpose electrical multimeter
- Cannot test AC voltage, resistance, or continuity, severely limiting its overall diagnostic range

“”
See Today’s Price →What we like
- Large backlit LCD display improves readability in dark spaces like electrical panels and crawlspaces
- Measures voltage, current, resistance, continuity, diode, and transistors — covers all typical home repair needs
- Included carrying case and test leads make this a complete ready-to-use kit for beginners
Watch out for
- Thsinde is a lesser-known brand with limited independent reviews for quality verification
- Manual-ranging design requires more user electrical knowledge than auto-ranging alternatives
Frequently Asked Questions
Can homeowners do their own electrical work?
What is a GFCI outlet and where do I need them?
How do I know if my electrical panel is safe?
What happens if I wire an outlet backwards?
Can I replace a 15 amp breaker with a 20 amp to stop tripping?
How We Analyze Products
We analyze Amazon review data — often thousands of reviews per product — to surface patterns that individual buyers miss. Our process aggregates star ratings, review counts, and buyer sentiment at scale, identifying which strengths and weaknesses appear consistently across the largest review samples available. The 4,200+ reviews analyzed on this page represent real verified-purchase feedback from Amazon buyers.
Each product earned its placement through data: total review volume, average rating, and the specific praise and complaints that repeat most often across buyers. No manufacturer paid for placement on this page. Products appear here because buyers endorsed them at scale, not because a company asked us to feature them.
We use AI to summarize review sentiment — not to fabricate opinions, but to condense what thousands of buyers actually wrote into a readable format. The pros and cons you see reflect the most common themes found in verified purchaser reviews, paraphrased for clarity. We do not claim to have accessed Reddit, YouTube, or specific publications in generating these summaries.
Prices shown reflect Amazon pricing at the time this page was last generated. Click “See Today’s Price” to get the current live price on Amazon. Read our full methodology →